....... an exquisite boutique for that something special


Showing posts with label Tilda SAL. Show all posts

Monday, April 2, 2012

Tilda Bunny Sew Along Part 3

 Part 3
How to sew Pantaloons
How to make the bunny hat

If you want to add braid or trim to the bottom of the pantaloons now is the time to do it
before you  sew the pants together
Put fabric right sides together and sew the curve


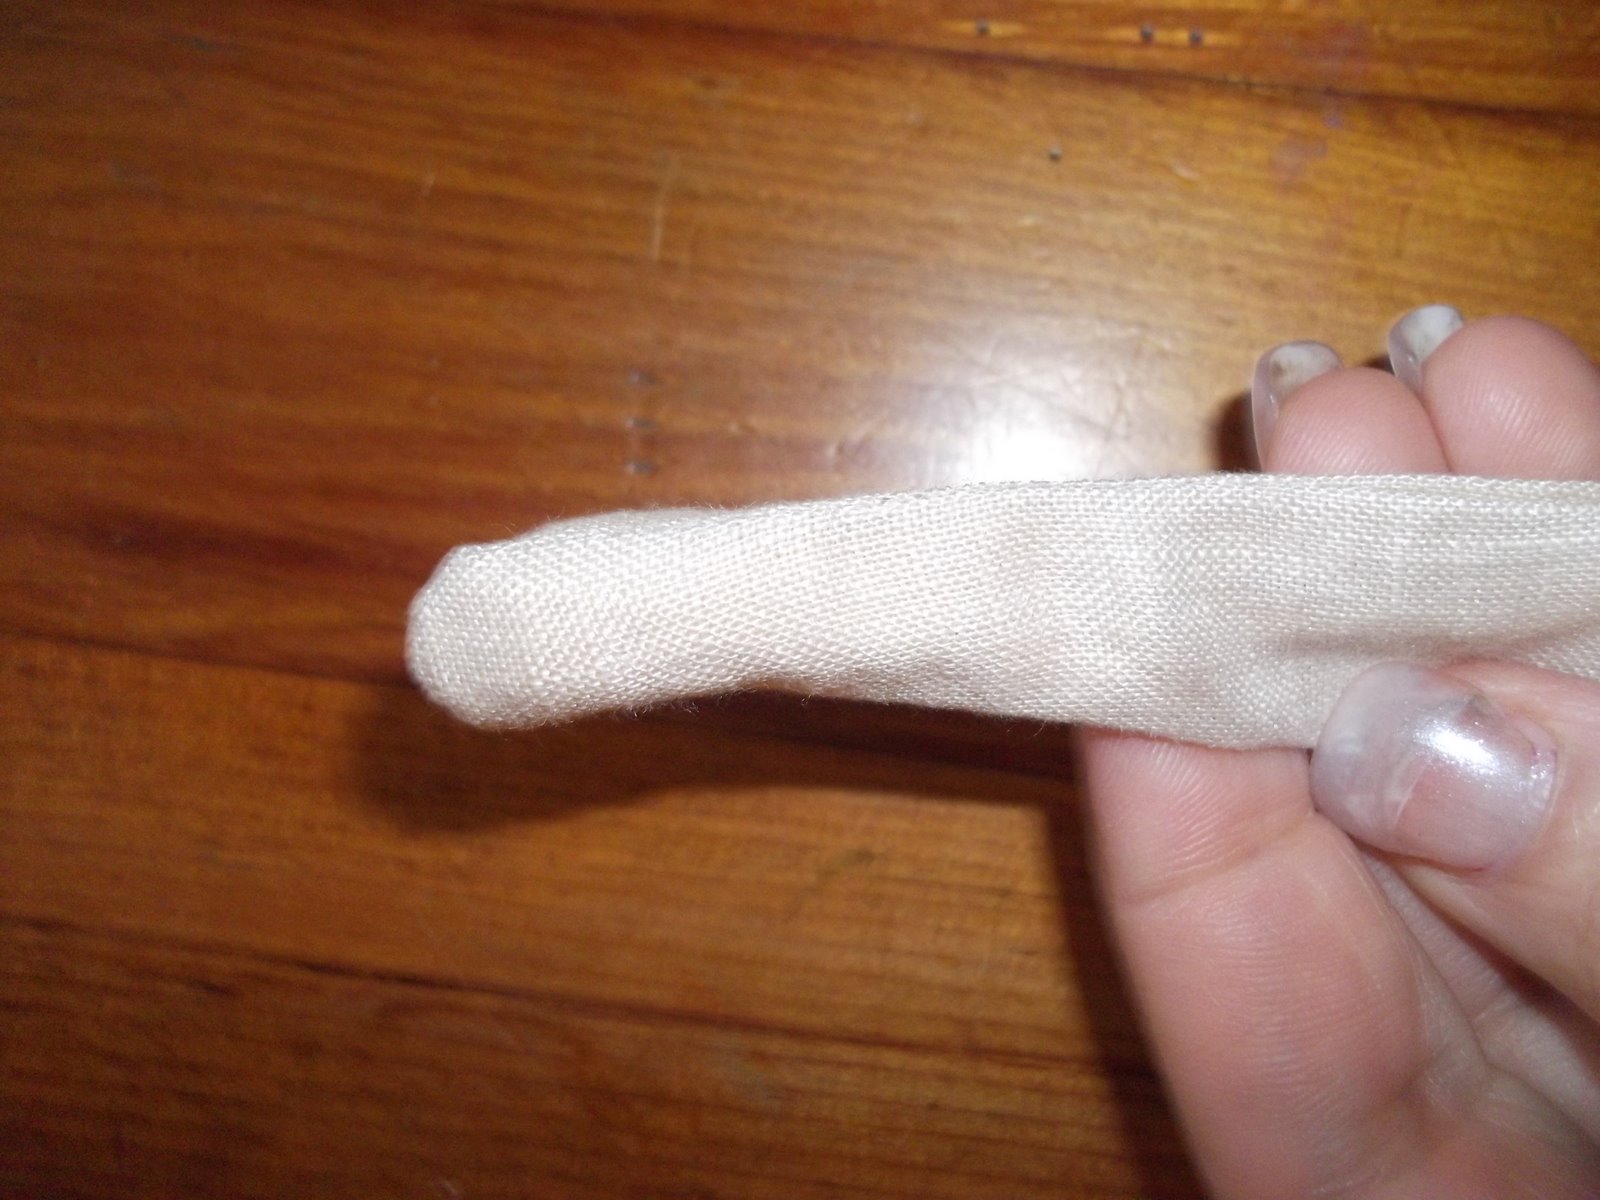
 Turn pants out so the pant legs can be sewn up as photo above

BUNNY HAT
Put fabric right sides together
Sew around the hat shape leaving the bottom unsewn as seen in  the photo above

turn the hat out, with right side out, as shown above
Now fold the fabric inside the hat, through the hole, keep pushing the fabric through having a folded edge (this is the brim of the hat), this forms like a cup as seen above in the photo.

Hat finsihed... I sewed a button in the middle of the hat, decorate as you please


DRESSING YOUR BUNNY
Put the finished pants onto your bunny and handsew the on around the waist

Cut out the skirt
Sew the braid etc onto the bib before attaching it to the skirt
Sew the seam for the skirt
Cut out the straps for the dress as instructed in the book

Pin the dress on to your bunny, pleating or making tucks as shown in the photo


continue to pin around the front too


 Sew up your clothes around the top of the skirt and then sew down the straps

Embroider the nose on and draw the eyes onto the face with a waterproof pen

Your bunny is finished!


 Happy Sewing


Thursday, March 22, 2012

My Tilda Bunny

I finished my bunny today
I wanted to show you the finished creation so maybe I could inspire some more of my readers to take part.
Im very happy with this little one.
I have used Tilda fabrics except for the body, that is made from linen.
The ric rac is Tilda, the button on the hat is Tilda also.


I had so much fun making this.
It only took me a few hours. 
Not very time consuming at all.

I am having another sewing flurry
so I have to strike while the iron is hot, as the saying goes.

Happy creating


Tuesday, March 20, 2012

Tilda Bunny Sew Along Part 1

As said in a previous post, this is NOT a swap but a Sew Along to make the bunny in the photo.

You will need the fabric for the bunny body
fabric for the lining of the ears
fabric for the clothing
and embroidery thread for the face
This is the hare I made last year for a swap that Cat from Catalina's Cottage and I ran.
The difference between the hare and the bunny is the wire in the ears and the ear patttern and I think its legs are slightly larger, but don't quote me on that.

Steps to start you bunny:
Photos for these instructons have been taken from my Tilda Angel Sew Along as it is the same process.
Trace pattern onto the body fabric (doubled)
or use the freezer paper method. 
Before I sew I just pin the fabric  to make sure it doesn't move.

Sew around the lines, making sure that you leave an opening so the arms, legs, body can be stuffed.
Leave the bottom of the body open
Leave the top of the arm open
Leave the top of the leg open.

Sew the ears together, make sure you use two different fabrics, right sides together. Turn in the right way 
then sew up the opening by hand or sew on the machine. If you have the opening at the curve (The middle of the ear pattern) this will be covered by the hat, so will not be seen.


Now cut around the sewing line making sure there is about 1/4" of fabric.

Turn all your pieces out. This can be a bit fiddly. Use a kebab stick or a turning tool(if you have one) or I use a doctors kind of pliers to turn my doll pieces out the right way.

Next week we will stuff and handsew up and maybe cut out our clothes.

Happy Sewing

PS. I went to the Craft and Sew Show last Friday. I purchased some lovely fabric and a couple of patterns and a couple of kits.. Ill show you these in a few days. Also, thank you to you all for your lovely comments and well wishes for our anniversary. It has been a true celebration in our home.

Tuesday, November 1, 2011

Tilda Sew Along Part 5

Well ladies... my angel is finished!! She is adorable in my eyes! 

Below is the final stage of the Sew Along. 

Sew the two layers of fabric together to form a tube.
Fold over the raw edge and do a gather stitch on your machine.


Gather up

 Sew the pantaloons
Right sides together to make them look like the photo above

Sew the inside seam

Put them on your doll.
Fold over top edge and pin down.
Hand sew them to the doll so they do not come off

Put skirt on your doll
Gather in as much as you can
Pin to the doll
Hand sew the skirt to the doll

Trace wings onto the fabric


Sew through the double thickness leaving the largest round edge
of the wing open


Turn in the right way
Stuff slightly then sew the lines as shown above

Turn the open seam inside the wing
I handstitched them onto the back of the angel gathering them in.
I liked the finished look this gave.. but it is up to you if you want to finish the wings this way

The back of my angel

Now to embellish.
I LOVE embellishing and finishing the things I create.


I made here some little shoes.
These are made with felt on the sole of her foot and a ribbon rose for the top.

Click HERE to take a look at another Tilda doll I made. This gives more of an idea of how to make them. They are very simple and effective.

I added a rosebud to the top right of her dress and off course some ribbon and the crown. I purchased the crown from Puddlecrafts in the UK. Click HERE to visit their website

A closer look


I have really enjoyed putting this Sew Along together.. 
Thank you for taking part.
I would LOVE to see some photos. Please email them to me so I can show them on my blog.
I hope you enjoyed it and have learnt something.

I hope to do another in the future... Maybe not a doll but something else

Have a great week


Tuesday, October 11, 2011

Tilda Sew Along Part 2

Turn out all the sewn pieces right sides out
Press all the sewn pieces


Take a small piece of stuffing

Press onto the end of a skewer stick

Push stuffing in with skewer stick or stuffing tool

Push stuffing to the end of the arm.(finger part) add small bits a bit at a time till all stuffed

The stuffing at the end of the arm......

Turn over the ends of the arms... this is the opening.... and will be handsewn to the body next week.

Take a larger amount of stuffing

Stuff leg to the knee

Sew across sewing line

Now stuff leg to the top


Stuff body with smaller amounts of stuffing and then a larger amount as you go....

The parts are now all stuffed for handsewing for next week.

PS.... the above process is time consuming


Related Posts Plugin for WordPress, Blogger...