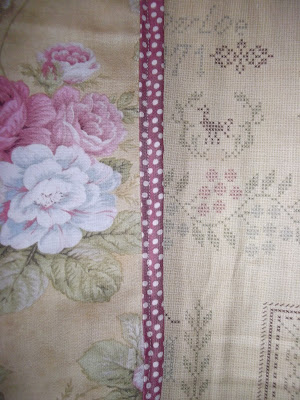
Humbug Bag Tutorial

Requirements:An Outer fabric - 17" x 12"An Inner fabric - 17" x 12"
Pellon - 17" x 12"
Contrast fabric for the binding and tabs - Binding cut to 2 1/2" wide x 12"
Tabs cut 2 1/2" wide by your desired length
Zip 13" or 35cm
NOTE: You can change the size of the bag by changing the zipper size and the length and depth of the fabric
Sandwich the three layers together
Do some freemotion quilting to attach them together

Iron binding over

Attached binding by folding over the raw edge of the 12" sides
The middle of the binding sits flush on the raw edge.

Sew the binding on with one sewing line

Then attached the zip.
Pin the zip to the inside fabric as shown above. Make sure the zip is unzipped right to the bottom, it is alot easier to attach it this way.... this is not done in the above photo.

Sew the zip on one side then on the other, as shown above.... this photo is looking at the zip from the inside.

Do up the zip and turn inside out. Pin the bottom of the bag, adding the tab in by the bottom of the zip.
Sew the bottom of the bag right sides together. Cut the excess zip off once you have done this.

Now sew the other end of the bag.. this time vertical so it looks like the photo below. Be sure to add the other tab to the top of the bag as shown in the photo.

Now your bag is finished.
More examples of this bag:

Made with Tilda fabrics and Tilda Wool Felt for the tassel heart

Made with Tanya Whelan fabric


12 comments:
Preciosos, gracias por compartir.
besos¡¡¡¡
Lisa this is extra cute,well done.xx
Beautiful tutorials, they're wonderful ideas! Lovely!
Lydia, your creations are always beautiful and perfectly groomed!
I love the fabrics by Tanya Whelan!
Just lovely,now if I could just get over my zipper phobia maybe I could have a go at that one lol
I love this little bag. I will have to make one. Really cute. Thanks for the Tutorial.
Thank you...great tutorials. Just wondering, when with we be given our colour challenge partners? I am so excited lol
Thank you very much for a wonderful tutorial. The pouch looks adorable. :)
Very very cute...beautiful fabrics, thank you for a wonderful tutorial :O)
I made it yesterday! Beautiful! Thanks for the tutorial! Well done.
I made it yesterday! Beautiful! Thanks for the tutorial! Well done.
Very sweet bags, thank you for the sewing tutorial. Such beautiful fabrics too.
Post a Comment